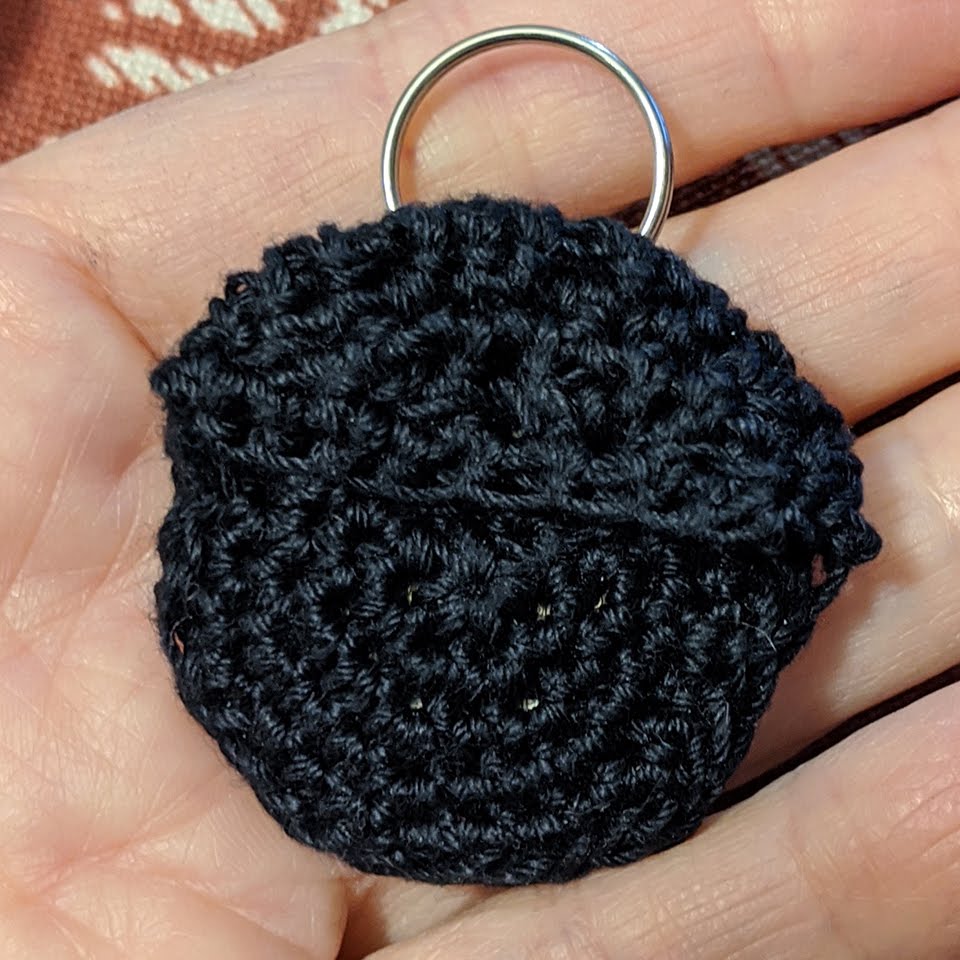
There’s no button, snap, or any clasp to catch on things in your pocket or purse, or add weight. The simple flap works perfectly. A minimalist, utilitarian, and unisex design.
FINISHED SIZE: 2 3/4 x 2 3/4 inches. Opening for pick slot is about 3/4 inch wide; crocheted fabric will stretch to accommodate width of pick. Gauge is unimportant.
MATERIALS
- #10 cotton crochet thread, 10 or 15 yards
- Crochet hook size 2.25 mm
- Stitch markers
- Large-eye sewing needle
- Small key ring
ABBREVIATIONS
- ch - chain
- dec - single crochet 2 together (decrease)
- ea - each
- inc - 2 single crochet in same stitch (increase)
- MC - magic circle
- PM - place marker
- rep - repeat
- sc - single crochet
- sl st - slip stitch
- st(s) - stitch(es)
Pattern is written in US terms.
BACK
ROW 1: Make MC, 2 sc in MC, PM in circle, draw MC loosely closed. [2]
ROW 2: Ch 1, turn, inc in same st, inc in last st. [4]
ROW 3: Ch 1, turn, sc in same st and in ea st across. [4]
ROW 4: Ch 1, turn, inc in same st, sc in next 2 sts, inc in last st. [6]
ROW 5: Ch 1, turn, sc in same st and in ea st across. [6]
ROW 6: Ch 1, turn, inc in same st, sc in next 4 sts, inc in last st. [8]
ROW 7: Ch 1, turn, sc in same st and in ea st across. [8]
ROW 8: Ch 1, turn, inc in same st, sc in next 6 sts, inc in last st. [10]
ROW 9: Ch 1, turn, sc in same st and in ea st across. [10]
ROW 10: Rep row 9, PM in first and last sts of row. [10]
ROW 11: Ch 1, turn, dec in same and next st, sc in next 6 sts, dec in next and last st. [8]
ROW 12: Ch 1, turn, dec in same and next st, sc in next 4 sts, dec in next and last st. Continue to FLAP. [6]
FLAP
ROW 13: Ch 1, turn, sc in same st and in ea st across. [6]
ROW 14: Ch 1, turn, inc in same st, sc in net 4 sts, inc in last st. [8]
ROW 15: Ch 1, turn, inc in same st, sc in next 6 sts inc in last st. [10]
ROW 16: Ch 1, turn, sc in same st and in ea st across. [10]
ROW 17: Rep row16, PM in first and last sts of row. [10]
ROW 18: Ch 1, turn, dec in same and next st, sc in next 6 sts, dec in next and last st, fasten off. [8]
FRONT
ROW 1: Attach yarn in MC, 2 sc in MC. [2]
ROW 2: Ch 1, turn, inc in same st, inc in last st, remove marker from MC, draw MC fully closed. [4]
ROW 3-12: Rep rows 3-12 of BACK. Fasten off.
 ASSEMBLY
- Weave in all ends.
- Flip up and align FRONT over BACK, and fold FLAP over top. Use 1 stitch marker to pin together the 3 edge stitches of marked rows (row 10 on BACK, 16 on FLAP, and 10 on FRONT) on left side of piece, then repeat on right side. It may also be helpful to pin the edge stitches on row 12 of BACK and FRONT and the corresponding stitch on FLAP.
- Thread a length of yarn onto sewing needle and seam edges. Weave in tails.
- Slip keyring around a group of 3 or 4 stitches near top center edge of BACK (not on FLAP).
Tags: bag, cozy, keychain, pouch, seamed, unisex, worked-flat, written-pattern